 |
| by Glenda Brooks for Heartfelt Creations HC's Magnificent Spruce Trees PreCut Stamp Set - HCPC 3432
Instructions
Other Supplies: Spellbinders Labels Four and Grand Labels Four, Ranger Distress Inks, Memento ink, Sakura sparkle pen, ribbon, My Minds Eye Lost and Found Christmas paper, pop dots, glue, scor-Tape, Canson watercolor paper
Card size 6” X 6” Make card base out of watercolor paper; cut a piece of design paper and add a piece of ribbon along the bottom of the paper. Adhere design paper to card base. Tie a bow and adhere to the strip of ribbon. Stamp image onto watercolor paper and use labels die to cut out image. I used ranger distress inks to add color around the edges of the image while it was still in the dye. Next I used a glitter pen to go over some of the branches of the trees. I’m sorry but it does not show up in my picture; trust me; it is there. I used two of the labels dies to cut out a frame and used pop dots to raise it off the image. I then cut a larger labels die and used it as a base for the framed image. I also used distress inks around the edges while still in the die. Attach this to the base card, centering it above the bow.
From Webster's Pages website, I just had to share this one too! This was entry from Flo who responded to WP's November challenge. To see more, go to: http://websterspages.ning.com/
November Challenge "Chocolate box to offer"
"Hi Ladies !!
Here is my chocolate box to offer. It contains chocolate but can also be used to give a gift or insert a mini album. Everything is completely handmade. It's a total of 5 boxes stacked to give volume to the creation. There are essentially Wesbter's Pages products, “Botanical Christmas” collection. The tree is made with netting. Thanks for looking!" Flo 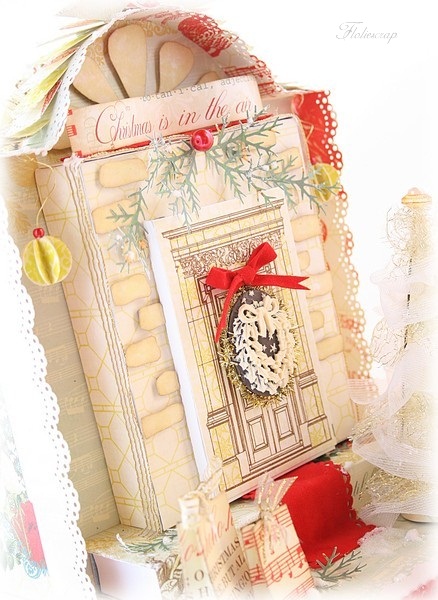 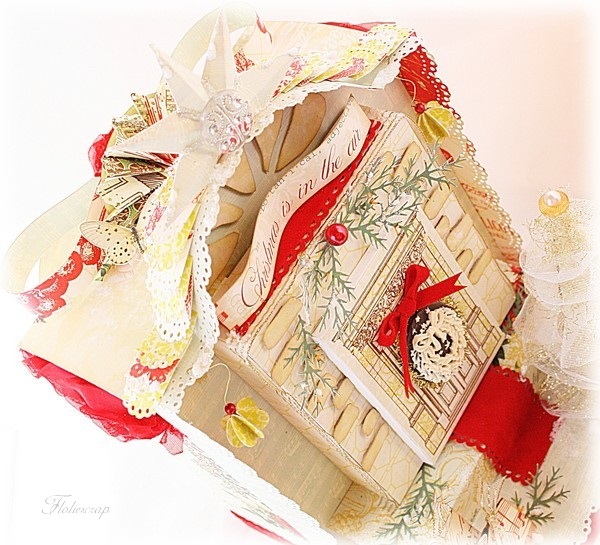 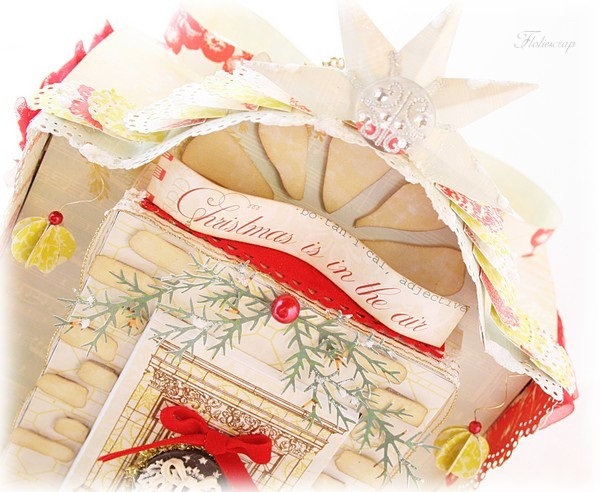 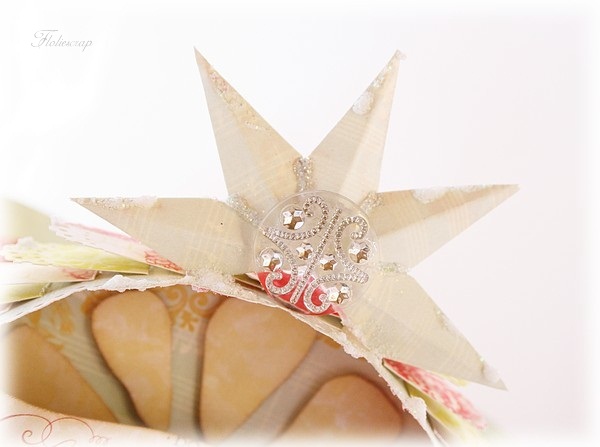 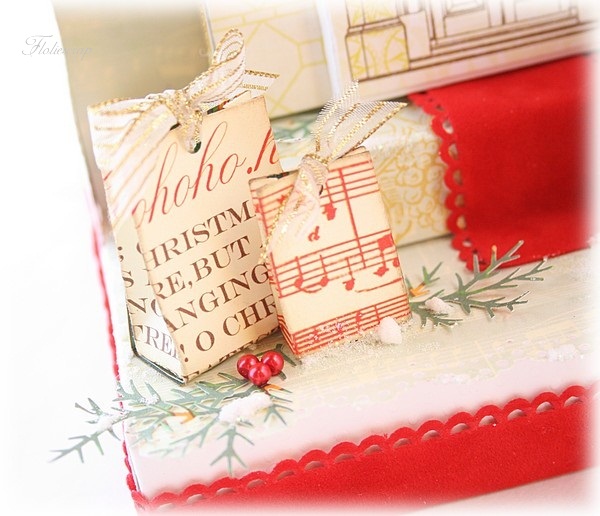 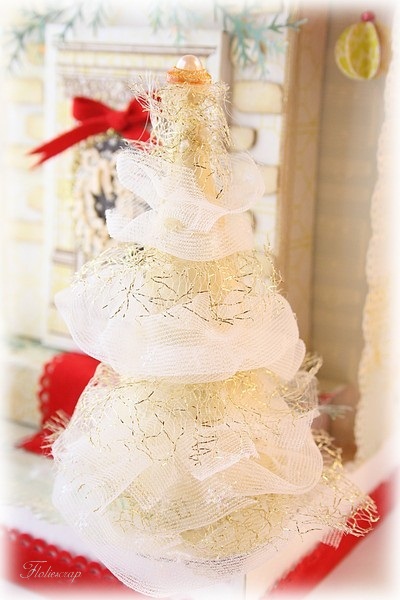 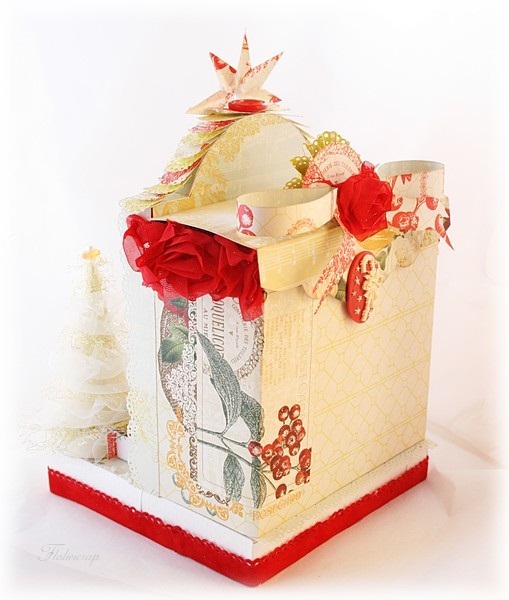 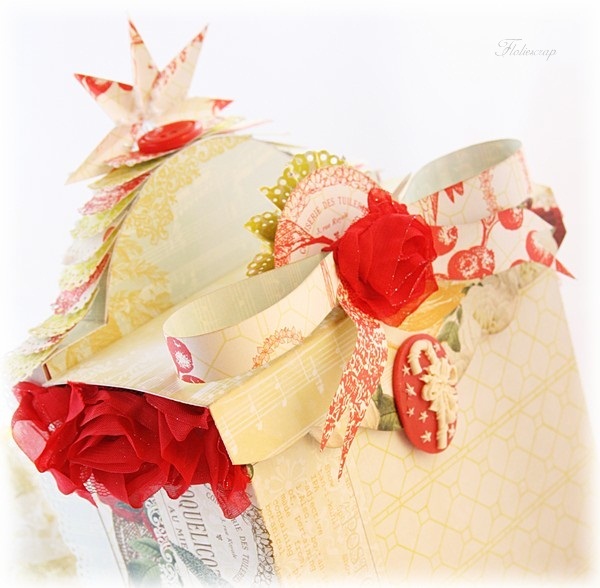 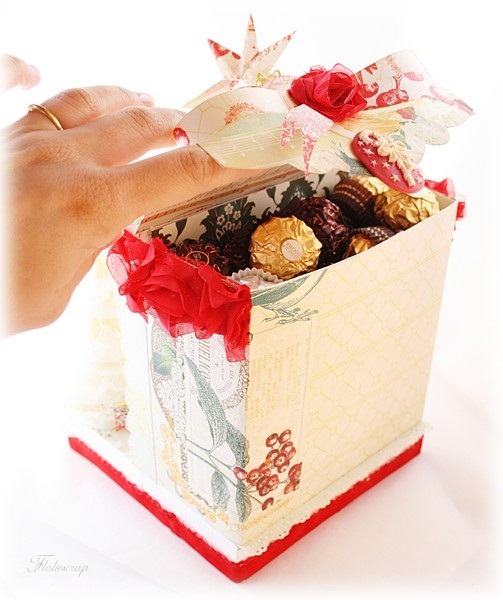 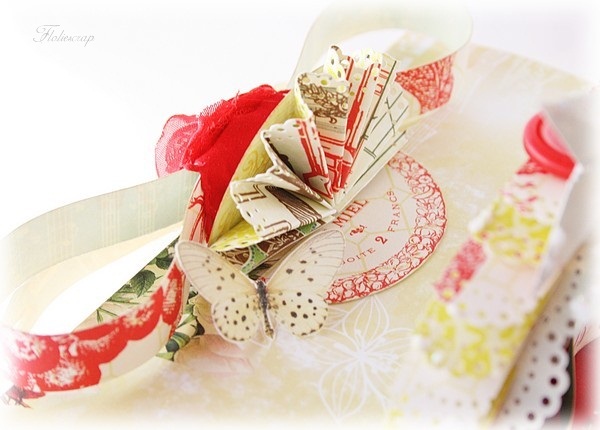 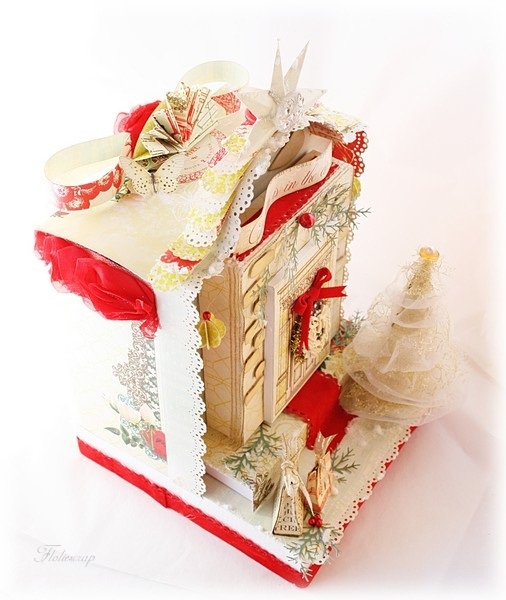 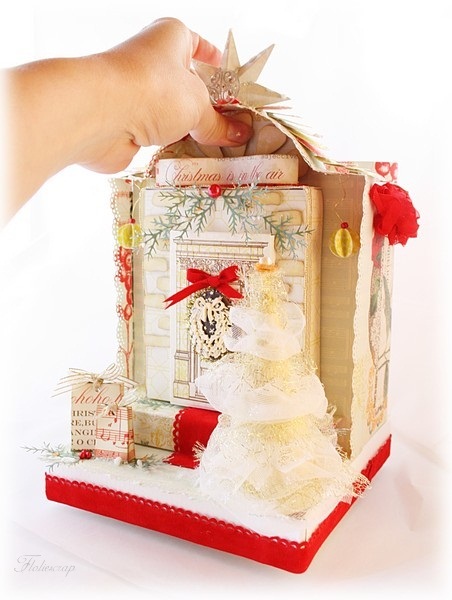
And if this wasn't enough to earn a total WOW!, look what we found on Cheery Lynn Designs' blog . . .
Floral Arrangement
by Sandie Louise for Cheery Lynn Designs

(completed project
measures 11" X 9")
Hi
Everyone,
This week’s
creation was inspired by the wonderful dies at Cheery Lynn Designs,
and the beautiful, spring weather we are experiencing at the moment in
Australia, though it won’t be long and our summer will arrive... those blooms will soon wilt, but not my flower
arrangement!!

For my project,
I have used a lot of dies, and created an arrangement which has a
three-dimensional appearance. I have
tried to photograph the arrangement so that this can be seen clearly. There are leaves, flowers, flourishes, pine
branches, etc popping up all over the place.
It seriously is
not that hard to put together, just time consuming, so do not be afraid to give
it a go. My ‘handy hint’ would be to lay
die cuts where you think they should go, when happy with the arrangement, take a
photograph to refer back to. You can
then pull apart your temporary arrangement, and use your photograph as a guide.

Firstly, I made
all my flowers, inking and rounding edges – the flowers I used are: Sweet Williams, Judy’s Blooms, Flower Chain Border, Cuties 1, Miniature Rose, Cherry Blooms and the ScallopedWindow Stackers.
The Scalloped WindowStackers flower was created by inking the
edges, and then spraying the die-cuts with glimmer mist. While the die-cuts are wet, just crinkle into
balls, before gently folding back out – when still wet, add a pearl/crystal brad
centre, then place flower aside to dry, making sure your petals are the way you
want them. Easy!
The “Flower Chain Border” I simply cut the flowers from the border,
placed on a mouse mat, and curled with a pop-stick edge!! Yes, I do have the fancy tools, but I prefer
the more simple – they work better for me!
J

The leaves and
flourishes I used are: Tropical Flourish, Pair of Ferns, StackerFlower 1 Leaf, Fanciful Flourish, Tropical Leaves, SM Leaves 2, Pine Branches and Olive Branches. The Olive Branches played a large part in the 3D appearance. I adhered the small end of the branch and
when dry, curled the leaves upwards (or wherever I wanted them to go). All the leaves edges were inked, some
glimmer misted and others have distress stickles as well.
Border Carnival was added as the ‘tablecloth’ – and of course,
I just had to add a couple of butterflies, and a dragonfly.
The urn or vase
is an item I have had in my ‘stash’ for quite some years, but I am sure a google
search (gosh I love google!!!) would bring up a mountain of sources to buy from.
OR, perhaps create your own out of some
clay!

Dies
Used:
B147 Olive Branches
B146 Pine Branches
D134SM Leaves 2
B119 Tropical Leaves
B117 Fanciful Flourish
D137 Sweet Williams
C184 Judy’s Blooms
DL129 Border Carnival
B132 Flower Chain Border
XMC-5Scalloped Window Stackers
B149 Cuties 1
B152 Miniature Rose
DL152 Small Dragonfly with Angel Wings
SF-1 Stacker Flower 1, Leaf
B129 Cherry Blossom
B118 Pair of Ferns
B127 Tropical Flourish
DL112 Exotic Butterly Mini

Well I hope you
have enjoyed my creation this week! I
wish all those celebrating “Thanksgiving” on the 25th, a special time
with family and loved ones....
And to
everyone, happiness always, no matter where you are on the globe!!
Sandie
I'm totally in awe of these creative ladies, and I hope you've enjoyed looking at their beautiful work as much as I have.
You won't hear from me for a day or two . . . tomorrow, we fly off to Milan, Italy to meet our newborn granddaughter, Cecilia, and spend lots of snuggle time with her. I will be blogging from there once we're set up and 'awake'!
Please be sure to stop in and say 'hi' to us at Art 'n Soul. The store will be closed on Thursday so our staff may enjoy the Thanksgiving Holiday with their families and friends. Art 'n Soul will re-open on Friday as usual.
And watch for all the deliveries we're expecting . . . I can't tell you how many orders have been submitted in the last couple of days.
Ciao!
|
Monday, November 21, 2011
From Heartfelt Creations' gallery, I wanted to show you this card. I've always admired Glenda's artwork and especially liked this card because it uses the paper we have at Art 'n Soul -- My Mind's Eye Lost & Found Christmas.
Subscribe to:
Post Comments (Atom)
No comments:
Post a Comment